 |
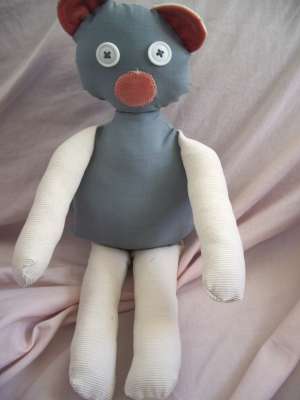
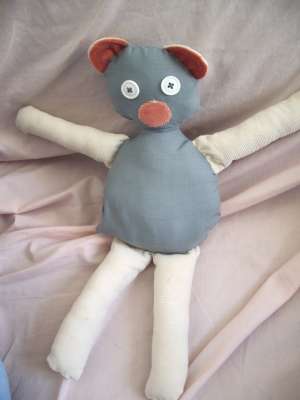
This creature I made later than the others, and you can scroll down to see the process and get a brief tutorial. He was destined for a real child, so he is a little more durable and a little less creepy than those above. |
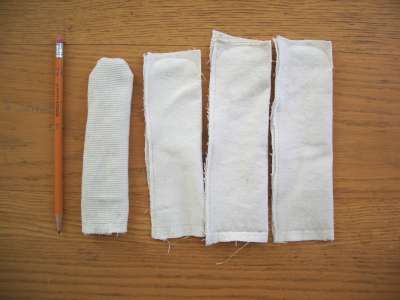
Cut four rectangles for legs, a bit more than twice the width you want and a bit longer than the length you want. Fold in half, right sides together, along width. Sew along open sides, curving top. Turn inside out (pencils are useful for poking the corners). |
 |
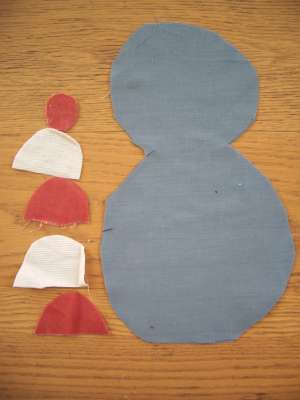
Cut a round piece and two semi-circles from the nose/ear fabric, and two semi-circles from the leg fabric. Cut 2 snowman shapes from the body fabric. |
 |
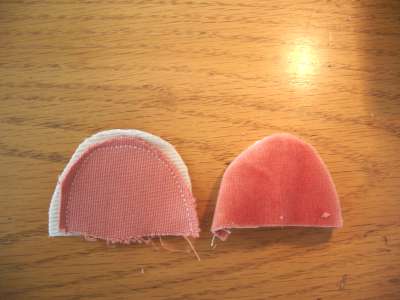 |
Sewing the ears: sew the two fabrics, right sides together, along the rounded edge. Flip inside out.
|
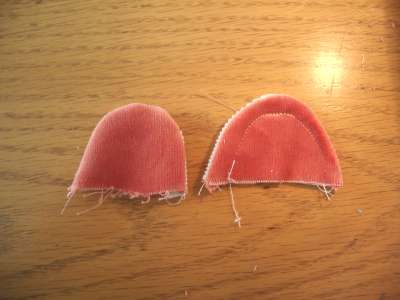 |
Sew inside the rounded edge, about 1/4 inch in as shown.
|
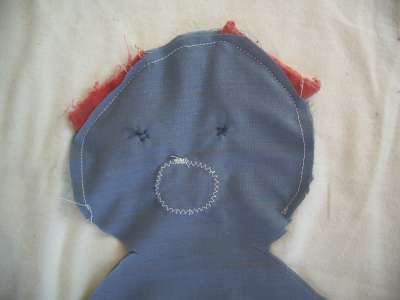
Sew the nose to the face with a zig-zag stitch to keep it from fraying. Sew on two buttons for eyes. (I like to use old, mismatched buttons, but all I had when making this one was white plastic ones.) |
 |
Pin the ears inside the body pieces, with the inside/nose color of the ears facing the front of the face, and the right sides of the body pieces together as shown. |
 |
Sew most of the head, getting the ears in the process. |
 |
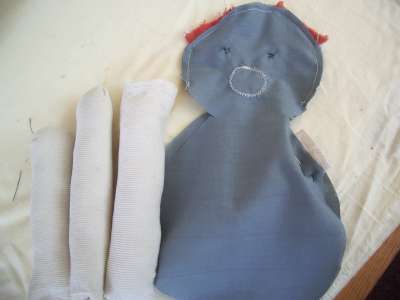 |
Stuff the arms and legs to nearly the end. Pin them somehow inside the body and sew.
|
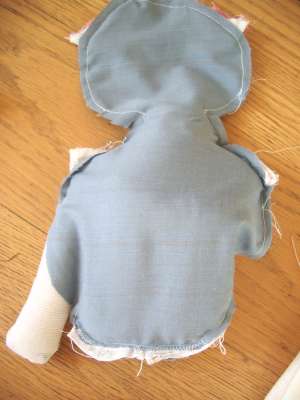 |
This part is hard to explain, but you want to somehow force all the legs inside the body and sew them to the creature, leaving a slit between one arm and leg with which to flip him inside out.
|
Flip inside out. It should look like this! |
 |
Stuff, and sew up the side. Ta da! |
 |