After making fused-plastic bag boots and a fused-plastic bag hat (from Craft Magazine), I decided to try some fused-plastic flowers. The plastic doesn't seem too sturdy to me -- perhaps I am fusing doing it wrong — but it is pretty, and it makes good decoration.
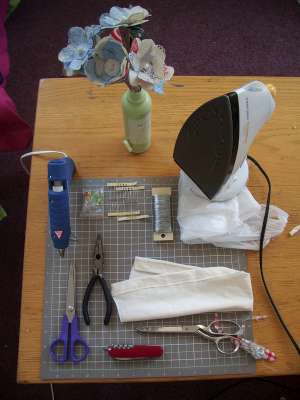
Materials: Plastic bags, LEDs, resistors, wires, a bit of fabric (I used an old cream colored t-shirt), a battery, duct or electrical tape, resistors depending on the battery type used. I used a 9 volt battery and a 100 ohm and a 510 ohm resistor for each flower.
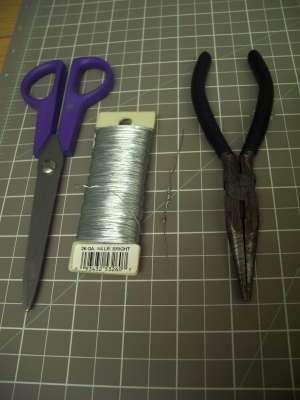
Tools: scissors, exacto knife/sharp blade, needle-nose pliers, hot-glue gun. (note: the hot glue can melt through the plastic, so I generally kept mine plugged in half the time to keep it from getting too warm) |
 |
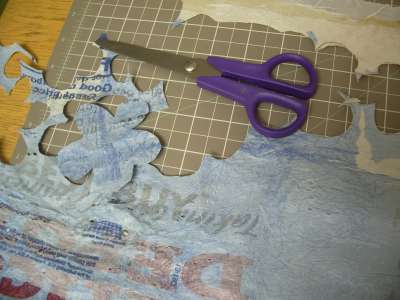 |
Start by fusing several layers of thin plastic bags with a iron. Cut out small petal shapes (probably easier with an exacto knife, if you have one). Mine all have 5 petals, but you can certainly vary this. |
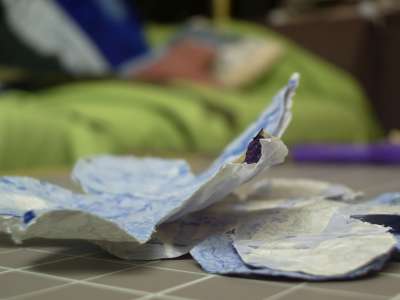 |
Line up three petals of slightly different sizes, biggest on the bottom and smallest on the top, on each other and poke two holes through the center of all of them, about half a centimeter apart. The LED leads will go through these holes. (I used a seam-ripper to poke holes, but any thin sharp object, needle, pin, even the LED leads, should work) |
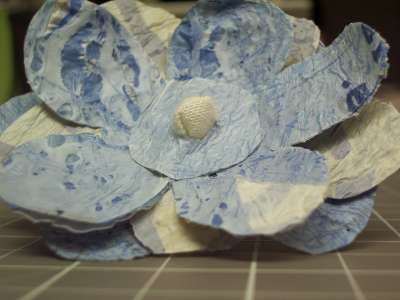
Cut a small donut of plastic and a small circle of a fabric of your choice (this shields the LED, letting it glow gently rather than blindingly). Stuff the fabric through the donut, gluing if need be. |
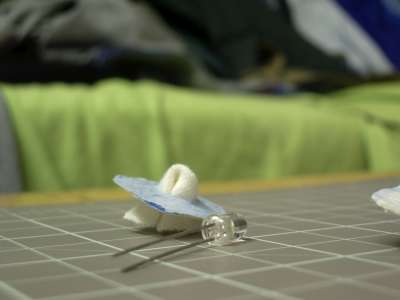 |
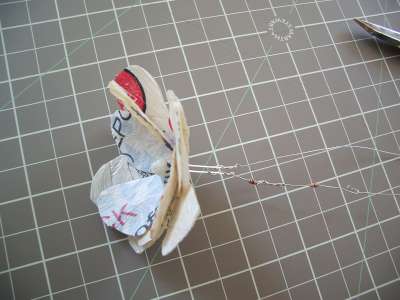
This shows the LED in the two holes on the aligned three petal pieces. Glue the petals to each other and firmly against the base of the LED with small drops of hot glue near the center of the petals. |
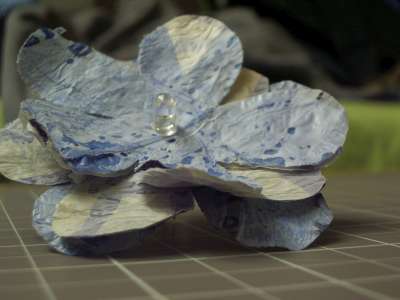 |
Secure the donut and its fabric counterpart over the LED with hot glue. |
 |
This is my first animated GIF, made in photoshop. It has a nice depth-of-field thing going on. |
 |
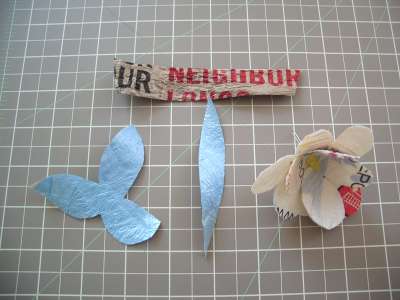 |
Cut out a leaf for the base of the flower and a leaf for the stem from another color of fused plastic. The leaf could have any number of 'petals', but I like three best. Also cut out a rectangle of a brown or boring color for the stem. The length of the rectangle is the length of the stem, the width is between one and a half and two centimeters. |
Next assemble your electronics gear. |
 |
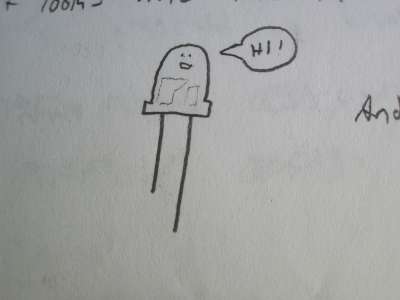 |
This was my first electronics project, and I used a LED starter kit my boyfriend, Trevor, assembled for me. |
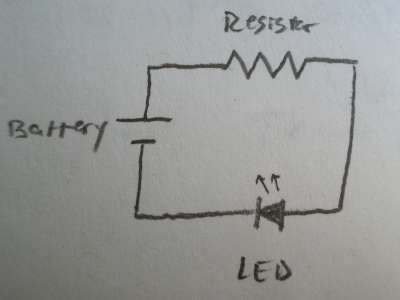 |
He explained in the kit that an LED has pretty much no resistance, so resistors have to be used in the circuit so as not to short-out the battery. |
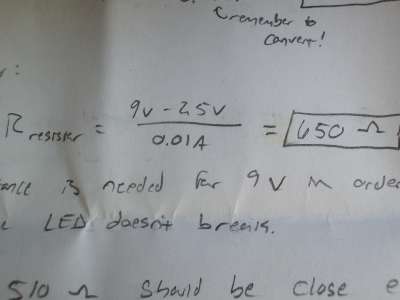 |
You can do a simple calculation to determine how many resistors you need in the circuit. I used a nine-volt battery, so I needed about 650 ohms of resistance. I used a 510 ohm and a 100 ohm resistor for each flower to get as close to 650 as possible. |
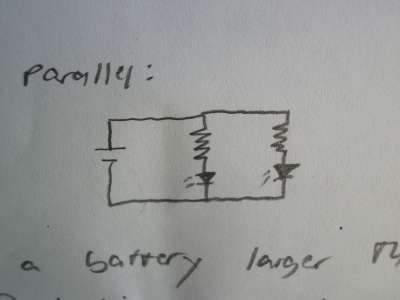 |
I connected the flowers in parallel so that I could have a lot on just one battery. Each flower needs a resistor pair. |
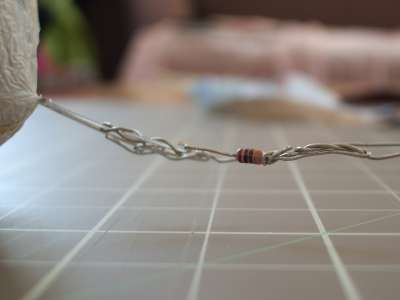
Connect the resistors to one lead of the LED, and a long wire to the other side. If the resistors are shorter than the stem-rectangle's length, connect some wire to the end of the resistors too. |
 |
If you have a soldering iron and solder this would be a lot easier. This is my messy wire-bending. |
 |
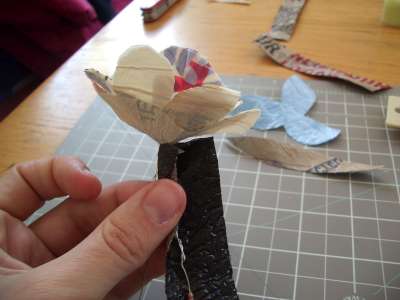 |
Fold about a third of the stem-rectangle over just one of the leads, and glue it in place. This will keep the two naked wires from connecting with each other. If you are using wire with rubber on the outside, you can skip this step and just fold the rectangle around the whole stem and glue it on. |
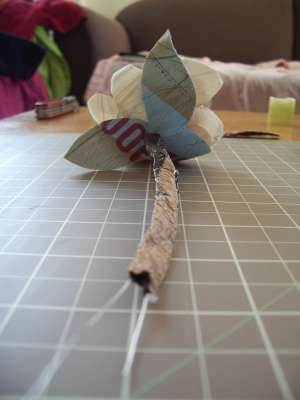 |
Fold the other third down on itself and glue. This makes the stem!
Cut a slit about the width of the stem in the leaf-piece, slide it up the stem and glue it to the base of the flower. The leaf-piece can be used to cover up any gaps and naked wire between the stem's top and the base of the bottom petal.
Glue on the stem-leaf wherever it looks best along the stem. |
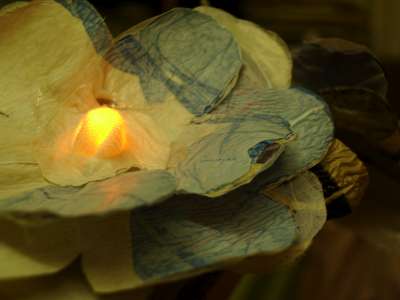
The finished product basking in its own light. |
 |
The first three flower I made -- and the second animated GIF. |
 |
Lights off... |
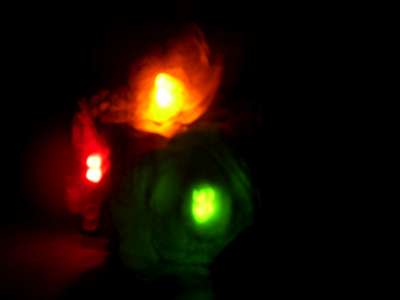 |
Lights on! |
 |
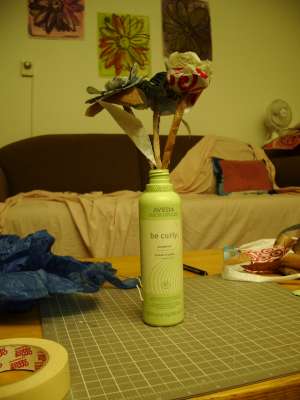 |
I put my flowers in an old shampoo bottle which I had cut the bottom off of. All their positive ends are connected and then run down and out through the small yellow wire. A white wire connects to the positive end of the battery. A third wire runs from the negative terminal of the battery to the negative ends of the flowers. When the white and yellow wires sticking out are connected, the flowers turn on. |
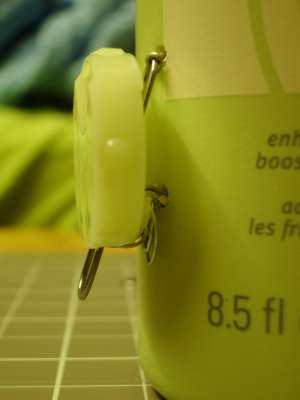 |
I made a little switch with a paperclip and covered it by the old cap of the shampoo's lid. |
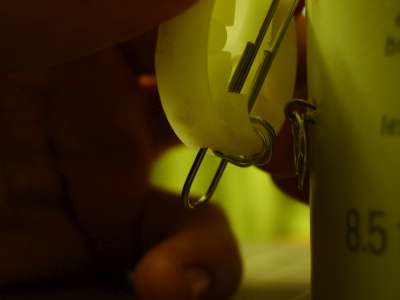 |
You can see where the connection is made. |
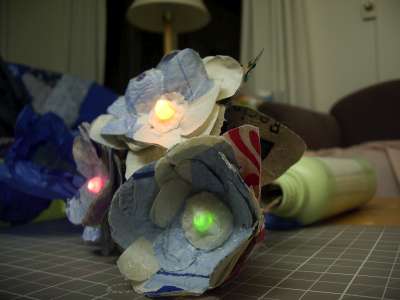
Ta da! A beautiful, reused-plastic-bag, glowing, mood-lighty, green, delicate flower! |
 |